Bake Up Heavenly Mini Red Velvet Cheesecakes Today
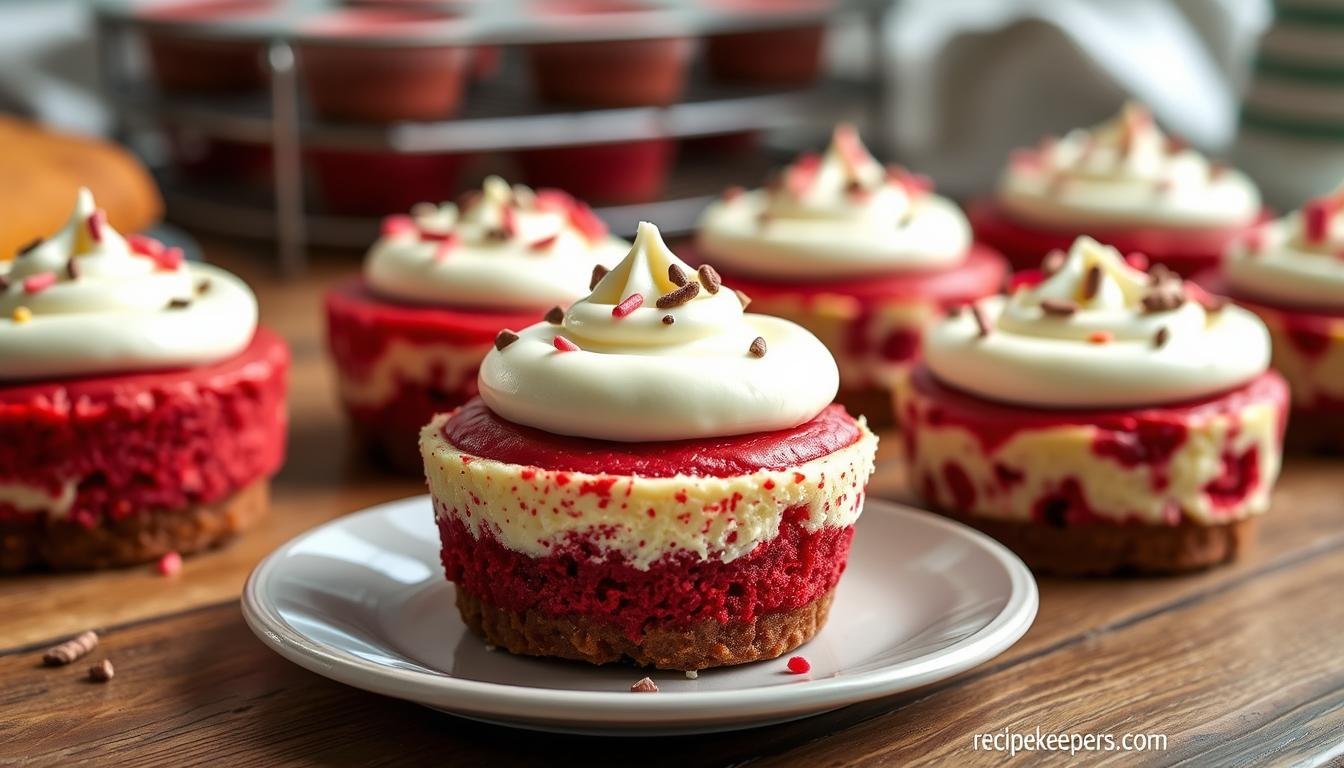
Welcome to the ultimate dessert adventure! Our mini red velvet cheesecakes are your new favorite treat. They mix the rich taste of red velvet cake with creamy cheesecake. This creates a dessert that’s both beautiful and tempting.
Red velvet desserts hold a special spot in our hearts. These mini cheesecakes elevate that love even more. They’re perfect for a romantic Valentine’s Day or to impress friends and family. These little treats are sure to be the highlight of any gathering.
Baking doesn’t have to be scary. Our easy recipe lets you make mini red velvet cheesecakes that look like they’re from a fancy bakery. Get ready to turn your kitchen into a sweet paradise!
Key Takeaways
- Mini red velvet cheesecakes are perfect for special occasions
- Easy to make with simple, accessible ingredients
- Portable and shareable dessert option
- Combines two beloved dessert styles in one
- Impressive presentation with minimal baking skills
Mini Red Velvet Cheesecakes: A Perfect Valentine’s Day Treat
Love is sweet, and nothing says romance like bite-sized cheesecakes. Our mini red velvet cheesecakes turn ordinary dessert moments into special celebrations of love and flavor.
These individual cheesecakes are more than just desserts. They’re edible expressions of affection. Imagine giving your loved one a perfectly crafted, individually sized treat that shows off your culinary skills and thoughtfulness.
Origins of Red Velvet Desserts
Red velvet’s history goes back to the early 1900s. Traditional recipes used non-Dutch cocoa, which created a reddish hue when mixed with buttermilk and vinegar. This reaction gave us the iconic red velvet color we love today.
- Originated in the Southern United States
- Became popular during the Great Depression
- Symbolized luxury during challenging times
Why Mini Cheesecakes Are Trending
Mini desserts like our red velvet cheesecakes are all the rage. They offer portion control, elegant presentation, and endless customization options.
The Perfect Special Occasion Dessert
Valentine’s Day desserts need something special, and these mini red velvet cheesecakes are it. With their rich color, creamy texture, and individual serving size, they’re sure to impress your sweetheart and create lasting memories.
Essential Ingredients for Your Red Velvet Creation
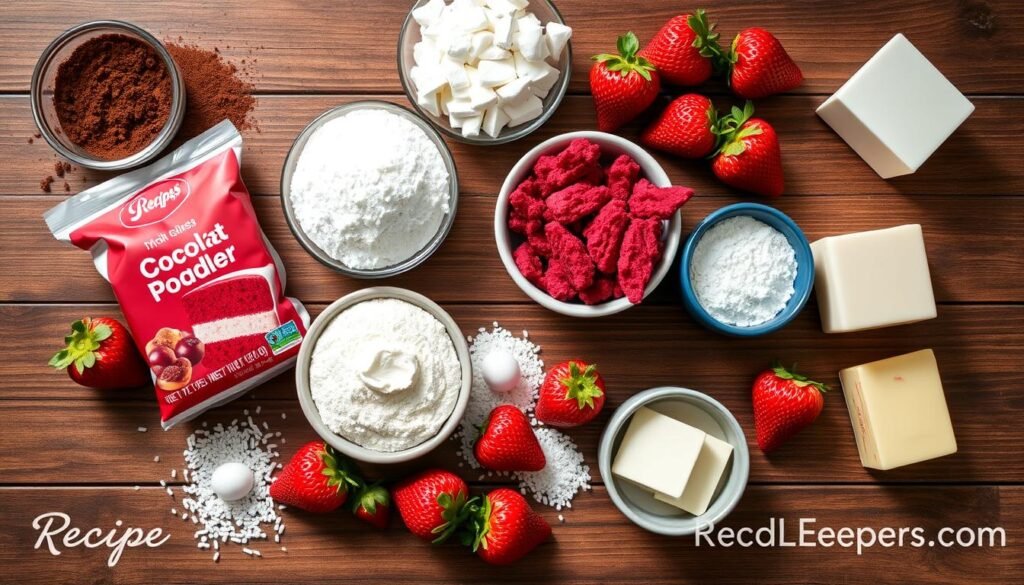
To make decadent mini cheesecake cups, you need the right ingredients. They should bring out the red velvet flavor and creamy texture. Let’s explore the key components that will make your baking special.
Key Ingredients Breakdown
- Cream Cheese: Full-fat cream cheese creates the richest mini cream cheese treats
- Cocoa Powder: Unsweetened cocoa found in the baking aisle
- Red Food Coloring: Critical for achieving the classic red velvet hue
- Buttermilk: Provides tender crumb and distinctive tangy flavor
The secret to red velvet is in its special mix. Unsweetened cocoa powder adds depth. Buttermilk makes the texture velvety smooth in your mini cheesecake cups.
Ingredient Quality Matters
| Ingredient | Recommended Type | Purpose |
|---|---|---|
| Cream Cheese | Full-fat, room temperature | Smooth, rich filling |
| Cocoa Powder | Unsweetened, high-quality | Authentic chocolate flavor |
| Food Coloring | Gel-based red coloring | Vibrant red color |
| Buttermilk | Fresh or powdered | Tender cake texture |
Pro tip: Always use room temperature ingredients for the smoothest mini cream cheese treats. This ensures even mixing and a luxurious texture that will impress everyone at the table.
The Secret to Perfect Cream Cheese Filling
Making the perfect cream cheese filling is an art in small-batch baking. Our festive red velvet sweets need precision for that silky-smooth texture. Let’s discover the secrets to a cream cheese filling that will make your mini cheesecakes irresistible.
Room Temperature Ingredients: The Game Changer
Temperature is key! Let cream cheese sit out for 30-45 minutes before mixing. Cold cream cheese leads to lumpy, uneven fillings that can spoil your festive treats. Aim for a soft, spreadable mix that blends smoothly.
Achieving the Right Consistency
Getting the cream cheese filling just right is all about the details. Here are some tips for a smooth filling:
- Use exactly 12 oz of cream cheese at room temperature
- Add 1/2 cup granulated sugar
- Mix in 1 teaspoon vanilla extract
- Include 1 large egg at room temperature
Proper Mixing Techniques
When baking, mixing is crucial. Use an electric hand mixer on medium speed for 2-3 minutes. This avoids overmixing and keeps the filling creamy and lump-free. Stop mixing once all ingredients are fully mixed for the best texture.
Pro tip: Scrape down the bowl sides often to mix everything evenly. Your goal is a silky-smooth filling that will make your mini cheesecakes the highlight of any dessert table.
Crafting the Perfect Oreo Cookie Crust
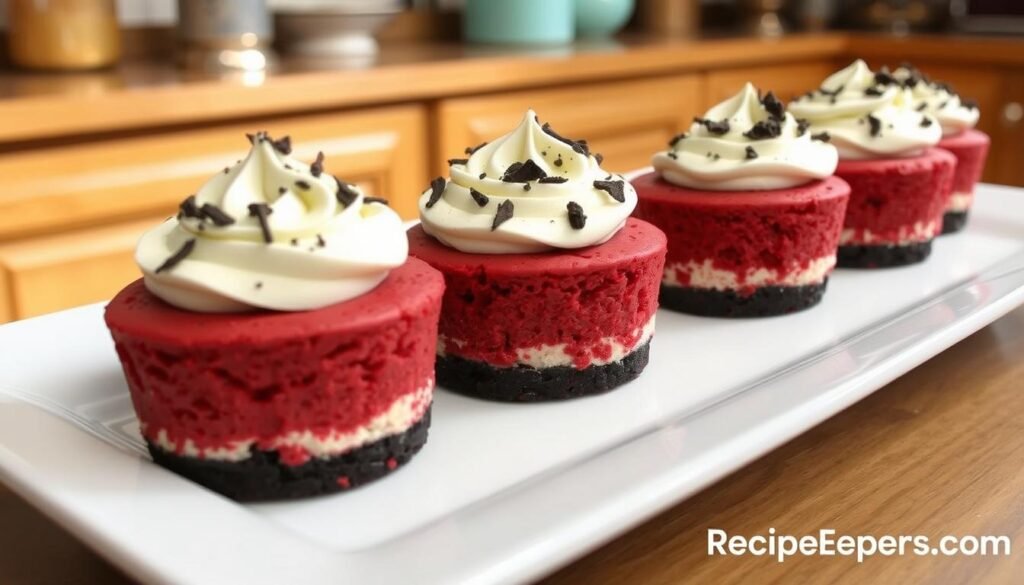
Making the ultimate base for cute party cheesecakes begins with a fantastic Oreo cookie crust. This chocolate crumb base is key to making your Mini Red Velvet Cheesecakes irresistible.
Let’s dive into the steps for creating the perfect Oreo crust. It’s what will make your Mini Red Velvet Cheesecakes stand out!
Ingredients for the Perfect Oreo Crust
- 2 cups Oreo cookie crumbs (about 35 whole Oreos)
- 4 tablespoons unsalted butter, melted
- Pinch of salt (optional)
Crust Preparation Steps
- Crush Oreos into fine, uniform crumbs
- Mix crumbs with melted butter until well combined
- Press mixture firmly into the bottom of mini cheesecake pans
- Bake at 350°F for 10-12 minutes to set the crust
Pro tip: Use the bottom of a measuring cup to press the Oreo crumb mixture evenly. This ensures a compact, stable base for your cute party cheesecakes.
| Crust Component | Quantity | Purpose |
|---|---|---|
| Oreo Cookies | 35 cookies | Create chocolate crumb base |
| Melted Butter | 4 tablespoons | Bind crumbs together |
| Baking Time | 10-12 minutes | Set and crisp the crust |
A great crust is the key to unforgettable Mini Red Velvet Cheesecakes. Take your time, press firmly, and watch your dessert go from simple to spectacular!
Step-by-Step Preparation Guide
Making bite-sized cheesecakes needs precision and care. Our guide will show you how to make these tasty mini treats. They will impress your family and guests.
Creating these red velvet desserts requires careful technique and attention to detail. We’ll break down the process into manageable steps. This ensures delicious results every time.
Crust Assembly Techniques
Building the perfect foundation for your bite-sized cheesecakes starts with the crust. Here are key tips for creating a stellar base:
- Use 24 Oreo cookies for an optimal crust
- Crush cookies finely for uniform texture
- Add 4 tablespoons of melted butter for binding
- Press mixture firmly into mini muffin cups
Filling Preparation Methods
The heart of your red velvet desserts lies in the creamy filling. Follow these professional techniques:
- Use room temperature cream cheese (24 oz)
- Mix cream cheese at medium-high speed for 8-10 minutes
- Incorporate 1 cup sugar gradually
- Add 4 large eggs one at a time
- Mix an additional 5 minutes until smooth
Baking Temperature Control
Precise temperature management is crucial for perfect bite-sized cheesecakes:
| Stage | Temperature | Duration |
|---|---|---|
| Crust Pre-baking | 350°F | 10 minutes |
| Cheesecake Baking | 300°F | 1 hour 45 minutes |
| Cooling | Room Temperature | 2-3 hours |
| Refrigeration | 38°F | 4-6 hours |
Remember, patience is key when creating these exquisite mini red velvet cheesecakes. Follow these steps carefully. You’ll produce a dessert that looks and tastes professionally crafted.
Decorating Tips for Professional-Looking Results
Turning your cheesecake portions into stunning festive red velvet sweets is easier than you think! Professional presentation can make your dessert go from delicious to breathtaking.
Let’s look at some foolproof decorating techniques. They will make your mini cheesecakes look like they came from a high-end bakery:
- Whipped Cream Piping: Use a star-tipped pastry bag to create elegant swirls on top of each mini cheesecake
- Red Velvet Cake Crumb Sprinkle: Crush leftover red velvet cake into fine crumbs for a beautiful color accent
- Fresh Berry Garnish: Add a single raspberry or strawberry for a pop of color and freshness
- Chocolate Drizzle: Melt dark or white chocolate to create artistic patterns across your festive red velvet sweets
Pro tip: Keep your decorating tools clean and your cream cheese at room temperature for the smoothest application. Refrigerate your individual cheesecake portions for at least 30 minutes before decorating. This ensures they’re firm and easy to work with.
Remember, how it looks is just as important as how it tastes. A beautifully decorated mini cheesecake will impress your guests before they even take a bite!
Storage and Make-Ahead Instructions
When you’re baking in small batches, planning is key. Knowing how to store your mini red velvet cheesecakes is crucial. It helps keep their taste and texture just right.
Refrigeration Guidelines
Homemade mini cheesecakes can be stored safely in the fridge. Here are some important tips:
- Store in an airtight container
- Keep refrigerated for up to 3-5 days
- Place parchment paper between layers to prevent sticking
- Maintain consistent temperature around 40°F
Freezing Options for Long-Term Preservation
Freezing is a great way to keep your mini cream cheese treats fresh longer. Follow these expert tips:
- Wrap individual cheesecakes tightly in plastic wrap
- Place in a freezer-safe container
- Freeze for up to 3 months
- Thaw in refrigerator overnight before serving
| Storage Method | Duration | Best Practices |
|---|---|---|
| Refrigeration | 3-5 days | Airtight container, 40°F |
| Freezing | Up to 3 months | Individually wrapped, sealed container |
Pro tip for small-batch baking: Always label your containers with the date of preparation. It helps keep things organized for your future self!
Troubleshooting Common Baking Issues
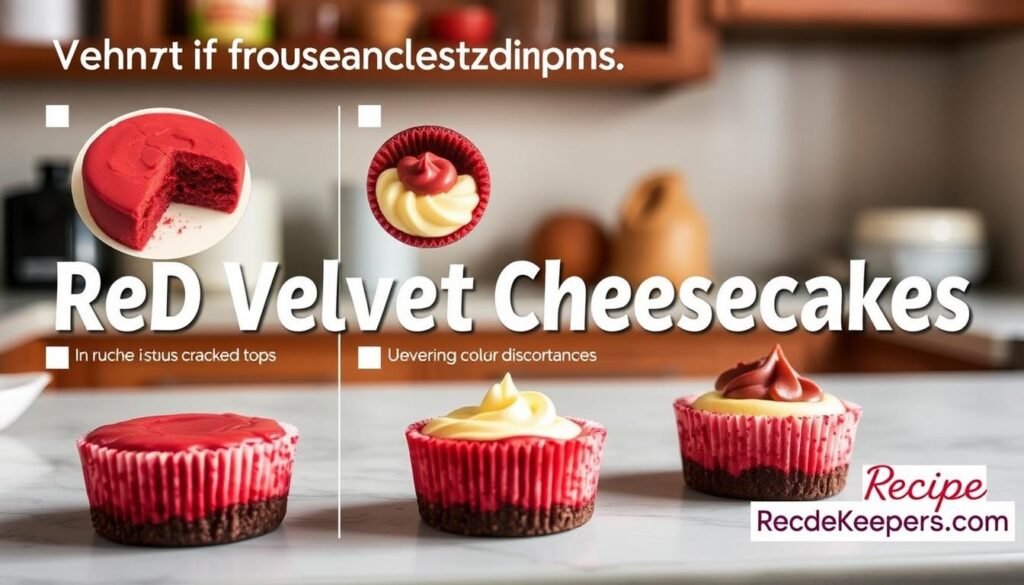
Baking mini cheesecake cups can be tricky. But don’t worry, we’ve got you covered! We’ll guide you through the most common problems when making your Mini Red Velvet Cheesecakes.
Preventing and Fixing Common Cheesecake Problems
- Cracked Surface: This often happens due to over-mixing or sudden temperature changes. Mix ingredients gently and avoid opening the oven during baking.
- Sunken Center: Typically caused by under-baking or using cold ingredients. Ensure all ingredients are at room temperature.
- Uneven Texture: Can result from improper mixing techniques or ingredient temperatures.
Baking Temperature and Technique
| Issue | Solution |
|---|---|
| Oven Temperature | Use an oven thermometer to ensure accurate 375°F (190°C) for crust pre-baking |
| Ingredient Temperature | Always use room temperature cream cheese and eggs |
| Mixing | Mix on low speed to prevent excessive air incorporation |
When making your Mini Red Velvet Cheesecakes, focus on these key details. A water bath can help prevent burning and ensure even cooking. Check if it’s done by gently tapping the pan – a slight jiggle in the center means it’s ready.
Storage and Cooling Tips
- Cool cheesecakes in the pan to prevent falling apart
- Refrigerate overnight for proper setting
- Do not leave at room temperature for more than 2 hours
- When freezing, first freeze unwrapped for 1 hour, then double-wrap
Even professional bakers face challenges. The key is to stay patient and learn from each experience. With practice, your decadent mini cheesecake cups will get better!
Flavor Variations and Toppings
Creating stunning Valentine’s Day desserts is all about imagination and personal touch. Our mini red velvet cheesecakes offer endless possibilities for customization. They will delight your guests and make every celebration special.
Let’s explore some delightful ways to transform these adorable treats into show-stopping desserts. Everyone will love them!
Creative Garnish Ideas
When it comes to decorating cute party cheesecakes, the sky’s the limit. Consider these elegant garnish options:
- White chocolate drizzle for extra decadence
- Fresh berries like strawberries or raspberries
- Chocolate shavings or crushed candy
- Edible flower petals for an elegant touch
- Whipped cream swirls
Seasonal Adaptations for Valentine’s Day Desserts
Your mini cheesecakes can easily transform to match different seasons and celebrations:
- Fall: Add pumpkin spice to the cream cheese filling
- Summer: Top with fresh seasonal berries
- Winter holidays: Sprinkle crushed peppermint
- Spring: Incorporate lavender or rose water
With these creative variations, your Valentine’s Day desserts will become memorable culinary experiences. They will showcase your baking skills and creativity!
Serving Suggestions and Presentation Ideas
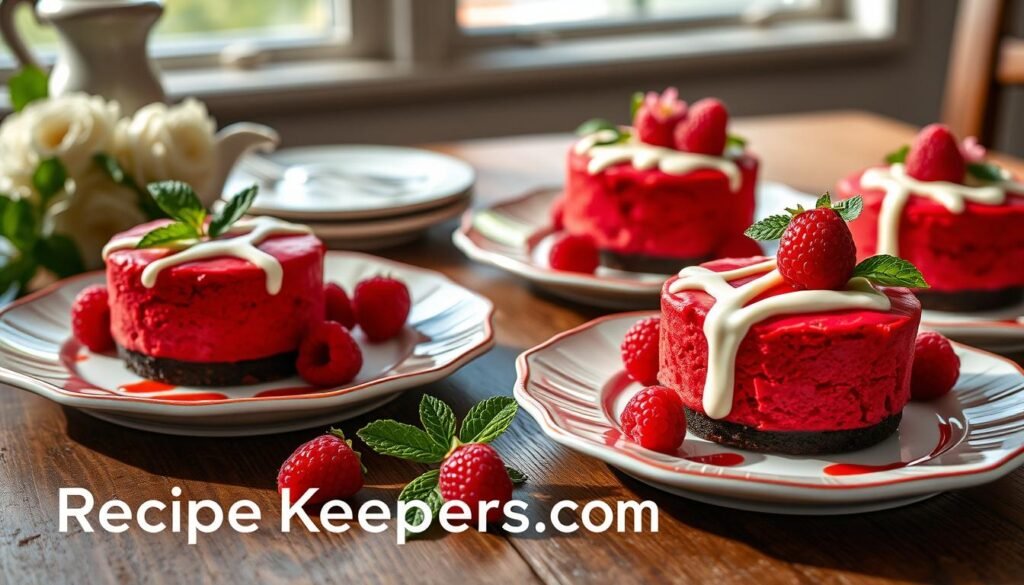
Turning your individual cheesecakes into stunning pieces is simpler than you think. These festive red velvet sweets need a presentation that matches their taste. Let’s look at some creative ways to show off these mini treats. They will impress your guests and make every bite unforgettable.
Here are some top presentation ideas for your mini red velvet cheesecakes:
- Elegant Plating Techniques
- Use white porcelain plates to make the rich red color pop
- Dust with powdered sugar for a delicate finish
- Garnish with fresh berries or mint leaves
- Party Display Options
- Arrange on a multi-tiered cake stand
- Create a dessert buffet with varied heights
- Use decorative paper liners for added charm
- Gift Packaging Ideas
- Clear individual boxes with ribbon ties
- Personalized kraft paper containers
- Small mason jars with custom labels
Think about the occasion when serving these mini masterpieces. For small gatherings, a beautifully plated cheesecake can make the meal special. At holiday parties, these festive sweets become the talk of the night, loved by all.
Pro tip: Serve chilled and let guests add their own toppings like chocolate shavings, whipped cream, or fruit compote. This makes for a fun dessert experience.
Nutrition Facts and Dietary Considerations
Exploring the nutrition of mini red velvet desserts shows a mix of good and bad. Each mini cheesecake has about 180-200 calories. This makes them a tasty but not too big treat for dessert fans.
Here are the main nutritional points for these tasty treats:
- Caloric Content: About 190 calories per mini cheesecake
- Carbohydrate Profile: Has a fair amount of carbs, good for an occasional treat
- Fat Distribution: Has a good mix of saturated and unsaturated fats
For those with dietary needs, specialized red velvet desserts are available. They cater to different nutritional needs.
| Nutrient | Amount per 100g |
|---|---|
| Total Carbohydrates | 54.36g |
| Dietary Fiber | 1.2g |
| Total Fats | 14.58g |
| Protein | 2.79g |
People with specific dietary needs can adjust these mini red velvet cheesecakes. You can make them gluten-free, reduce sugar, or even vegan. They still taste like the classic version.
It’s important to know about allergens. Our mini red velvet desserts might have common allergens like milk, eggs, and wheat. Always check the ingredients and talk to a doctor if you have dietary concerns.
Conclusion
We’ve explored the world of decadent mini cheesecake cups. We’ve covered everything from ingredient ratios to baking techniques. Now, you can make 60-72 mini cupcakes that will wow your family and friends.
Baking is all about patience and precision. Each mini cheesecake is more than a dessert. It’s a moment of joy shared with loved ones. Our recipe helps you make perfect two-bite treats that look great and taste amazing.
For more recipes and baking tips, check out www.recipekeepers.com. Whether you’re new to baking or have lots of experience, there’s always something new to learn. Keep trying new things, stay curious, and enjoy making decadent mini cheesecake cups that make everyone smile.
Happy baking! May your kitchen always be filled with warmth and delicious treats!




One Comment